

Admin

784 posts
·
Joined 2021
Horses like to chew. I had seven of these doors to repair to varying degrees, also installed some 1/2" aluminum angle around the inside of the opening to hopefully prevent future chewing.
![Image]()
![Image]()
![Image]()
![Image]()
6,997 posts
·
Joined 2020
I’ve found that mine chew more when confined like today. 40 mph wind here cold & wet. My vet says some is lack of fiber but they get plenty. I’m sure you know thisHorses like to chew
Mike
784 posts
·
Joined 2021
The hangers for the sliding doors weren't long enough, so I made some from just plain ol flat stock. I'm not really set up for metalworking, and had to get a bit creative, but I enjoyed it and it turned out much nicer than the previous welding job used to extend them.
![Image]()
![Image]()
![Image]()
![Image]()
![Image]()
![Image]()
10,870 posts
·
Joined 2011
Got any hemlock up there?
Apparently horses won’t chew hemlock. The wood, not the poisonous plant. 😳👍
Apparently horses won’t chew hemlock. The wood, not the poisonous plant. 😳👍
3,114 posts
·
Joined 2021
The new counters are 3cm. The old ones were 2cm with a doubled edge and osb backer.
The height difference made the cooktop sit on the oven about 5/16" proud of the counters.
Fortunately, the oven was sitting on 3/8" ply to lift it above the cabinet front lip.
Multi tool to rough cut the front lip, smoothed up with the hand plane. Cutoff will get tacked on to the top, filled and painted.
60,570 posts
·
Joined 2012
Nobody knows for sure why horses chew wood like that. They'll also chew plastic buckets, etc.
Boredom, stress, loneliness, plenty of ideas why. For whatever reason, it's a genetic predisposition.
Ours can wander through the woods browsing or munch in the pasture or get some hay in a stall, they're always free to come and go.
Boredom, stress, loneliness, plenty of ideas why. For whatever reason, it's a genetic predisposition.
Ours can wander through the woods browsing or munch in the pasture or get some hay in a stall, they're always free to come and go.
784 posts
·
Joined 2021
I've seen other animals chew as well, specifically goats and alpacas. Not nearly as bad as horses, but they definitely mess up the stall walls a bit too.Nobody knows for sure why horses chew wood like that. They'll also chew plastic buckets, etc.
Boredom, stress, loneliness, plenty of ideas why. For whatever reason, it's a genetic predisposition.
Ours can wander through the woods browsing or munch in the pasture or get some hay in a stall, they're always free to come and go.
914 posts
·
Joined 2019
The ol' load bearing wall out steel beam in trick?
Sent from my Pixel 4a using Tapatalk
Sent from my Pixel 4a using Tapatalk
7,882 posts
·
Joined 2020
Didn’t feel right. Too clean. Too easy. I went to the dump after so I was able to get my peepers on some debris. It calms me down lol.
3,605 posts
·
Joined 2012
Left out of the loop, again.
Are our current reno we needed to fill the schedule, so I ended up going ahead and framing in the bulkhead in the kitchen that the cabinets are meant to go under.
We have drawings, the spec'd cabinet sizes, and even an elevation detail showing the heights.
Then the designer showed up with the cabinet builder...
Turns out that the upper cabinets were decreased in depth, and increased in height...
Neat.
Spent the better part of the day resizing this silly thing.
I sure do wish that these things would be brought to our attention sooner.
![Image]()
![Image]()
Are our current reno we needed to fill the schedule, so I ended up going ahead and framing in the bulkhead in the kitchen that the cabinets are meant to go under.
We have drawings, the spec'd cabinet sizes, and even an elevation detail showing the heights.
Then the designer showed up with the cabinet builder...
Turns out that the upper cabinets were decreased in depth, and increased in height...
Neat.
Spent the better part of the day resizing this silly thing.
I sure do wish that these things would be brought to our attention sooner.
144,775 posts
·
Joined 2005
I planned on showing the full pass but I spaced out. This is the 2nd pass after taking the bulk of the material on the 1st pass. I rough cut the curve, put it on the template and then do the rough pass. It follows the cut panel because the bearing isn't low enough. After I do the rough pass I use a small router with a pattern bit on it and trim the 1/4" thick tongue to the curved pattern and then run the panel again. It's better this way because my final pass I'm only taking about 1/16" of meat and I have no real chance or burning because I'm going to slow because of the load on the shaper. Only a 3HP shaper and this bit is close to the max I can use when taking a single pass.
1,222 posts
·
Joined 2022
Bathroom is finally starting to come together, waiting on the linen cabinet and the splash panel for the pony wall. Small niche is a footrest for shaving. The long shot is from the toilet location.
![Image]()
![Image]()
![Image]()
27,043 posts
·
Joined 2008
Today was just one of those days, for some reason I decided to skim coat my shop before I paint …three coats just wasn’t enough so I pushed for two layers of skim coating, which was easier to do on my stilts…. Today I’m doing second coat and I heard a snap…, not something you want to hear on 36 in stilts, what’s that word? Timber, as I was falling the first thought was get rid of the 20 inch trowel quickly.!
I think my ego is more bruised than my body, after shaking off the extent of what happened I got busy making a repair, then back to work!
definitely upgrading to the 5/4 Support!
3,217 posts
·
Joined 2011
Upgraded my track saw tracks today. I didn’t want to buy the new ones with the holes so I cut my own
![Image]()
![Image]()
144,775 posts
·
Joined 2005
Got the door in clamps today. Sprayed the backs of the panels to seal them. Put tape on the corners so I could put a spot of glue and then glued the panels back to back. I put stain on the tongues of the panels so when they move with seasons you don't see a light line.
In clamps.
![Image]()
And then out of clamps.
![Image]()
Still need to cut the curve on the top of the door.
In clamps.
And then out of clamps.
Still need to cut the curve on the top of the door.
1,709 posts
·
Joined 2018
Nothing fancy going on here and sometimes that’s the way I like it. Fixed some bad electrical cutouts and cat scratches on the walls ; fixed some poorly installed window casing; installed baseboard the owner never got to after installing the floor and painted everything up nice.
![Image]()
![Image]()
![Image]()
1,477 posts
·
Joined 2010
Is that two tone common for you?? Just had my first that i remember last year, black windows/jambs(7-1) and stained case. Now same customer wants to do black windows with white case in bedrooms.
1,709 posts
·
Joined 2018
No, it’s not common for me, I usually do everything the same. Personally I think it looks kinda half azzed this way but that’s what these guys wanted and it is a lot easier for me.
3,665 posts
·
Joined 2008
Black windows with white casing are a trend here right now. On the outside I don't mind it but interior it is just fugly.
27,043 posts
·
Joined 2008
Now that I have the shop ceiling skim coated I’ll be doing touchup tomorrow but looking for a good quality primer more than likely I will do two coats, I was thinking of using Glidden gripper?
13,725 posts
·
Joined 2017
I recently tried this stuff out. Not as easy to apply as my previous go to but the end result is better.
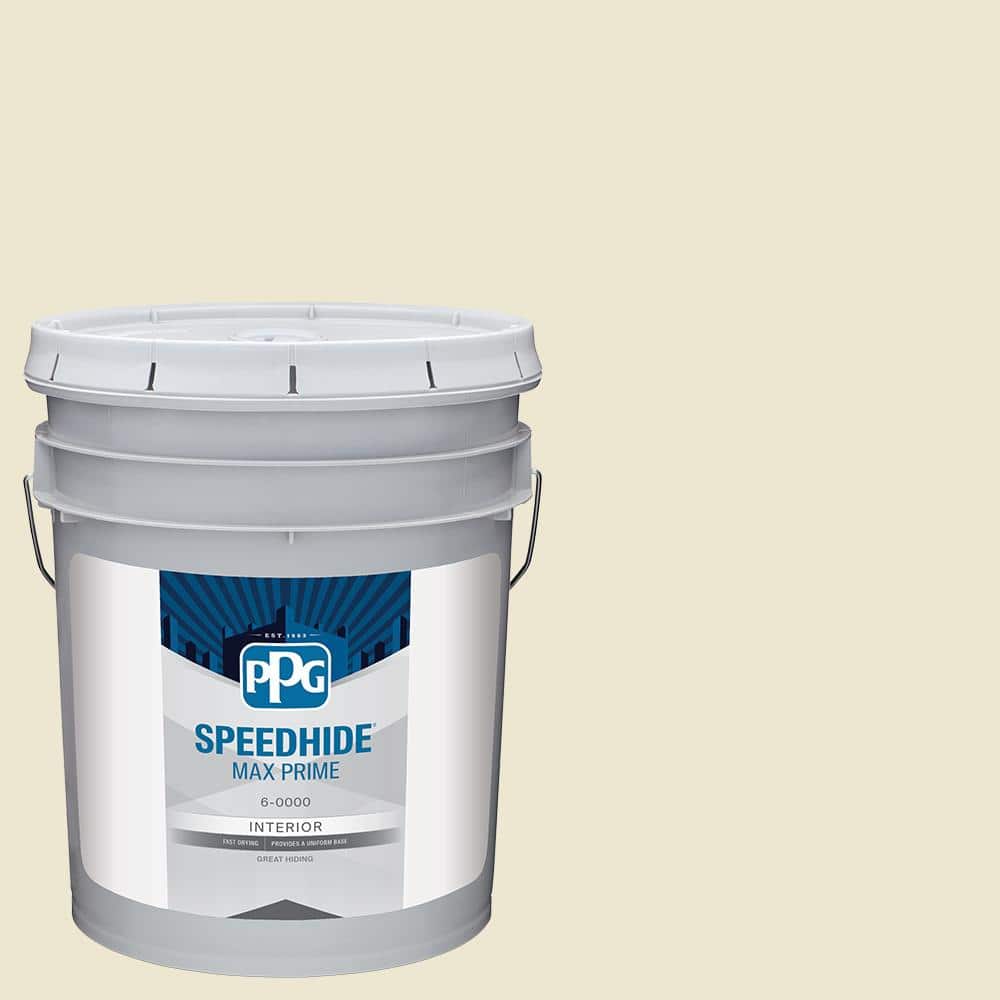
SPEEDHIDE MaxPrime 5 gal. PPG1096-1 Instant Relief Flat Interior Primer PPG1096-1MX-05P - The Home Depot
PPG Paints best professional high build interior latex drywall primer formulated to meet the performance requirements of professional painters and applicators. PPG SpeedHide Max Prime Latex Interior Drywall
www.homedepot.com
144,775 posts
·
Joined 2005
Worked on 2 of the curved headers today. Cut some Oak and Poplar flitches about 1/8" thick and 3 7/8" wide and went to my buddies with the widebelt and sanded them down to a little under 3/32". 8 of them made just under 3/4". Have to account for glue thickness.
He made me these templates on the CNC. I joined the 2 of them together with the Poplar spacers to make them 3 7/8" wide.
![Image]()
After some testing I decided to put some slots in them near the ends for clamps.
This one has a header that I glued up and will stay on the form overnight for the glue to get rigid. I needed the clamps for the next one.
![Image]()
Here we are fully clamped up. This one has the Oak on the top of the curve because it's the curved base for the upper curved window.
![Image]()
He made me these templates on the CNC. I joined the 2 of them together with the Poplar spacers to make them 3 7/8" wide.
After some testing I decided to put some slots in them near the ends for clamps.
This one has a header that I glued up and will stay on the form overnight for the glue to get rigid. I needed the clamps for the next one.
Here we are fully clamped up. This one has the Oak on the top of the curve because it's the curved base for the upper curved window.
-
?
-
?
-
?
-
?
-
?
-
?
-
?
-
?
-
?
-
?
-
?
-
?
-
?
-
?
-
?
-
?
-
?
-
?
-
?
-
?
- posts
- 3.6M
- members
- 170K
- Since
- 2003
A forum community dedicated to professional construction and remodeling contractors. Come join the discussion about the industry, trades, safety, projects, finishing, tools, machinery, styles, scales, reviews, accessories, classifieds, and more!
Explore Our Forums


