What is standard procedure for finishing a banister that has white spindles with a stained wood handrail? I'm spraying all the rest of the trim with an airless in place.
I'm pretty inexperienced with finishing stairs. Didn't know what works best?
Do you mask off the handrail spray, spray the trim, go back and finish the wood later??? Stair will have carpet.
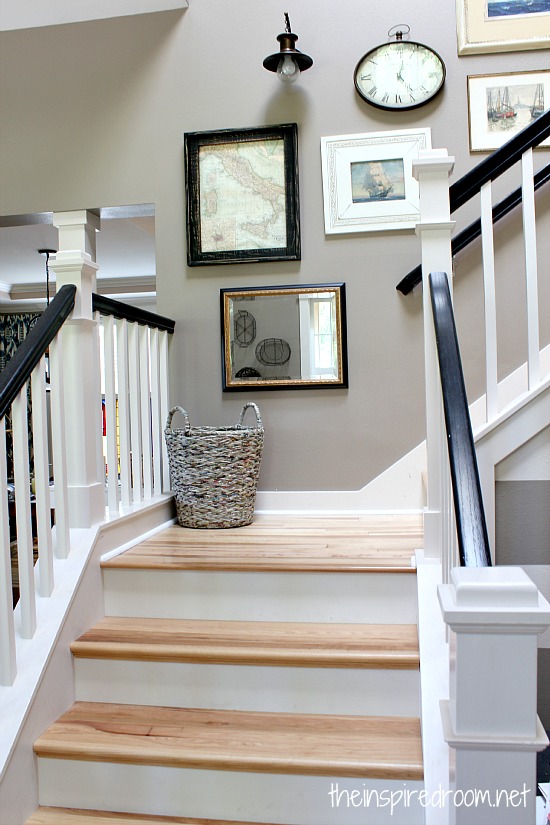
Something like this:
![Image]()
I'm pretty inexperienced with finishing stairs. Didn't know what works best?
Do you mask off the handrail spray, spray the trim, go back and finish the wood later??? Stair will have carpet.
Something like this: