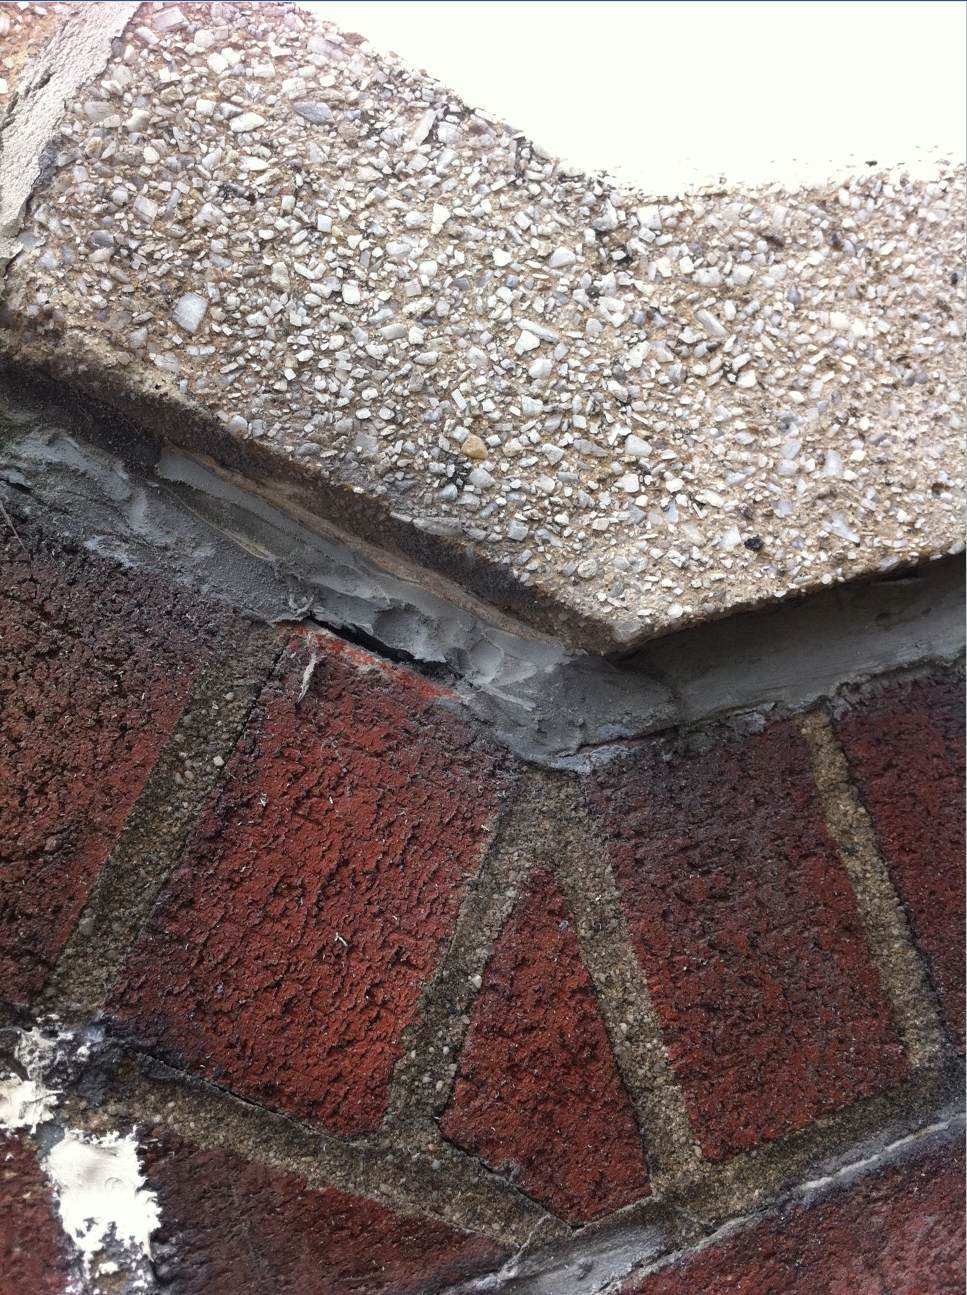
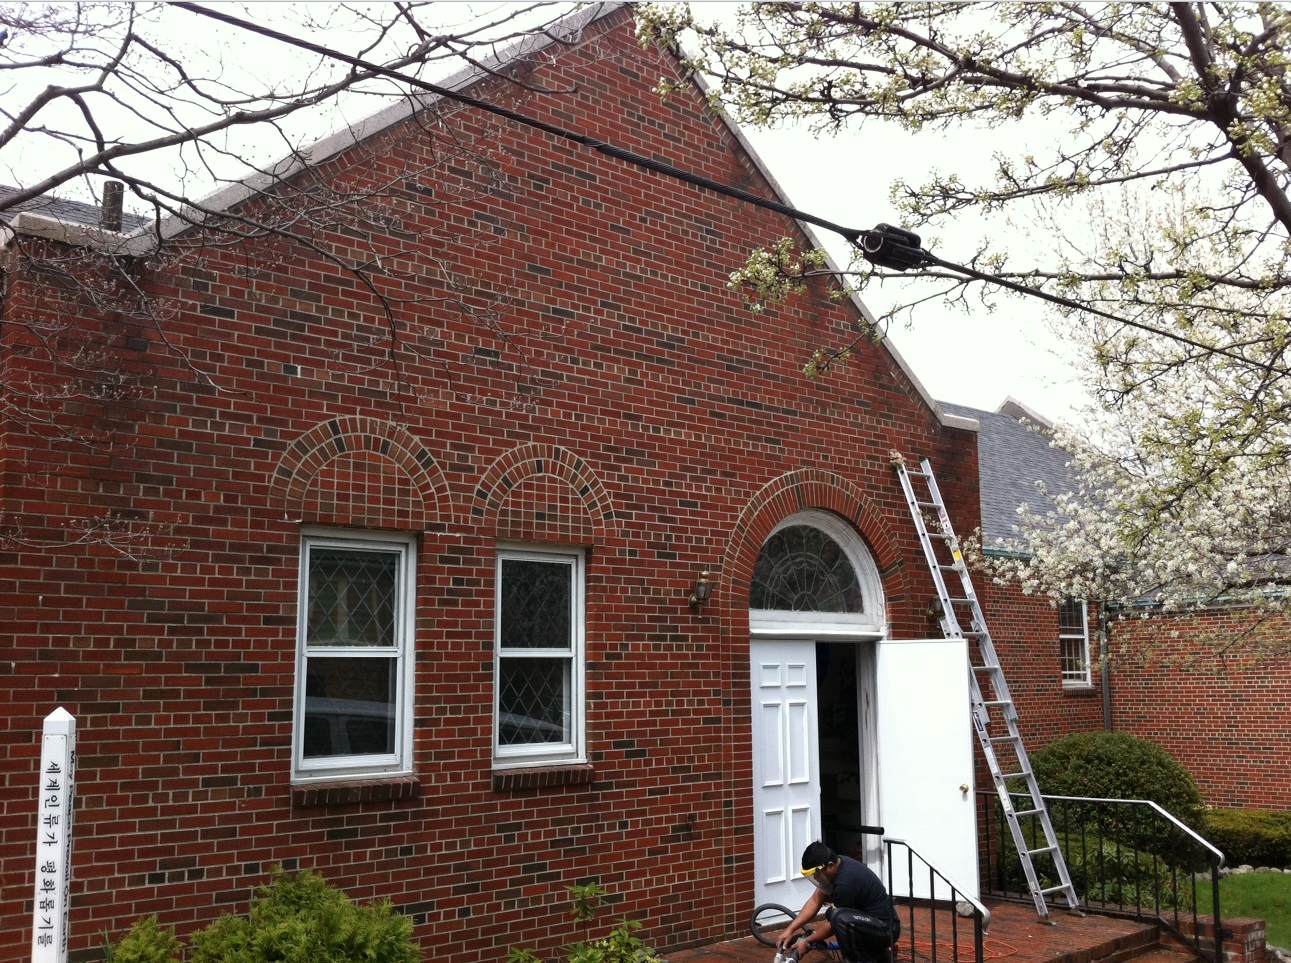
Were working on a church building with capstones. Inside the foyer they are getting water damage, we are in the early process of starting to repoint.
As shown by the closeup there is an old caulk between the capstones and brickwork.
Any suggestions on the best method to get a long lasting seal?
![Image]()
![Image]()
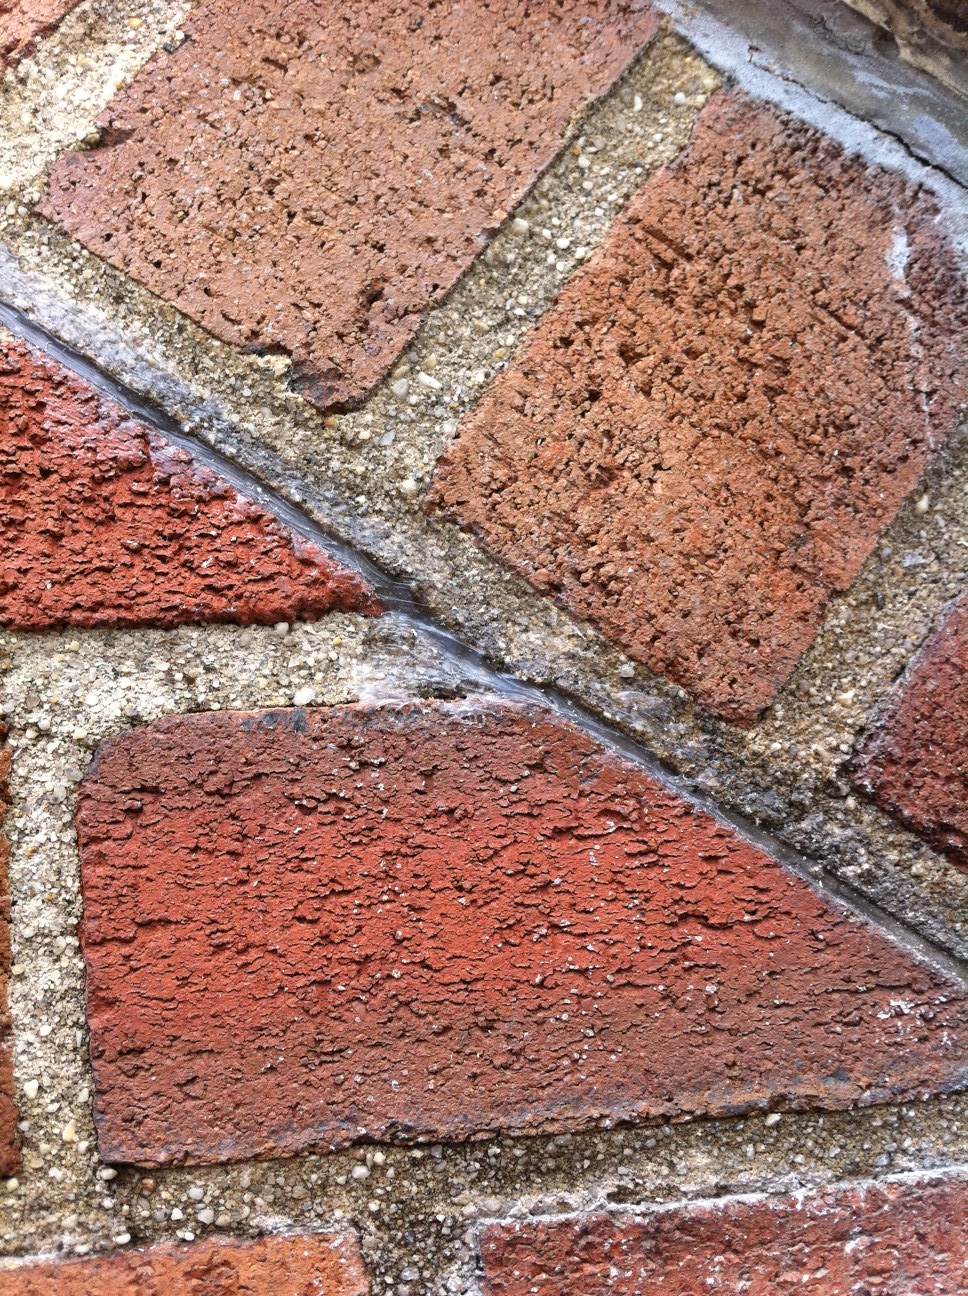
As shown by the closeup there is an old caulk between the capstones and brickwork.
Any suggestions on the best method to get a long lasting seal?